Audio annotation
Annotation process description:
-
Determine whether the task is invalid; if so, click skip to proceed to the next audio. If valid, when there are annotation tasks (object detection, semantic segmentation, line annotation, point annotation), the annotation tools and configuration are consistent.
-
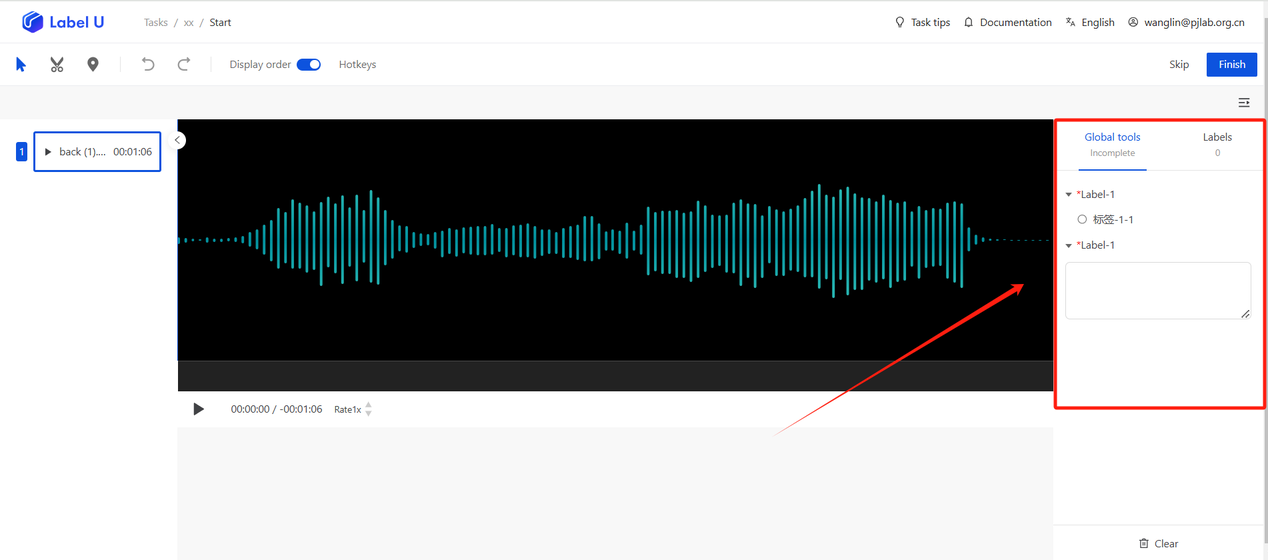
On the global labels, you can select the pre-configured "label classification" to tag the entire audio or provide a text explanation for the audio under "text description".
-
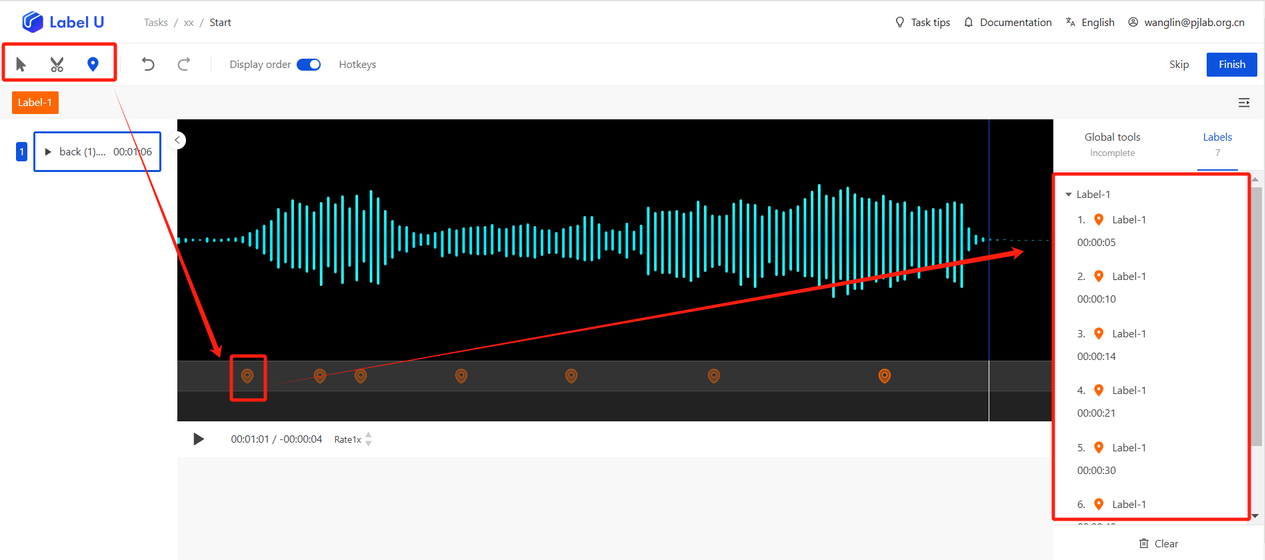
For specific markings, first click the "tool style" in the upper left corner to select the marking method. After completing the style of the mark in the audio, synchronize it in the label column on the right. The name of this label and other information can be modified manually by clicking on it.
-
Click on the label result in the label result management column on the right side to select the corresponding marking in the audio. The selected tool in the toolbar switches to the label result tool. Click "modify" for detailed information to drop down and select the label name; click the "hide" button to hide this marking information; click the "delete" button to delete this marking information.
-
Choose "Next", go to the next audio.
-
Repeat steps 1-5 until the annotation is complete.
Global tools

Audio tools

Tool introduction
| Tool Style | Usage Method |
|---|---|
| Segment Segmentation | Play the audio and find the point where you want to start cutting, pause and click to confirm the starting point. You can directly click and drag to select the end point on the timeline, to choose the part of the audio you want to cut. |
| Timestamps | Select the time point you want to reference or highlight. If you want to mark 1 hour, 10 minutes and 30 seconds of the audio, you should click the point on the progress bar at 01:10:30. |